 Home and Gardening Ideas At home and Gardening ideas we believe inspiring readers about homesteading, self sufficiency
No-Knead Artisan Buttermilk Bread: It’s Easier Than You Think
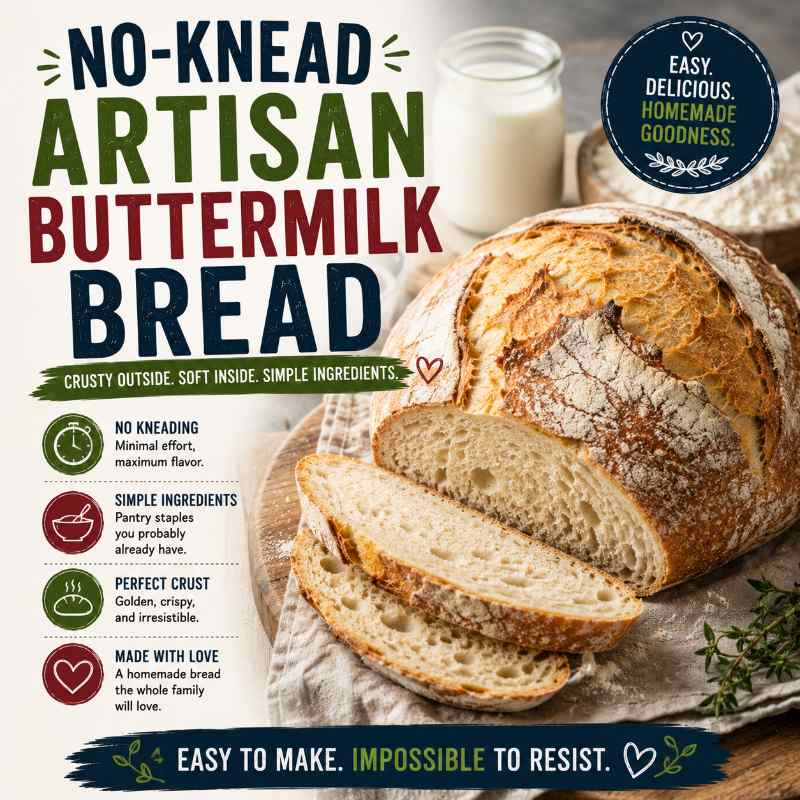
People are intimidated by making bread. The part that intimidates them the most is kneading. Kneading is a lost skill. No fear! This no-knead artisan bread is also a no-fail recipe. Buttermilk gives this bread a great, tangy taste that makes it perfect for snacks or turkey sandwiches. Buttermilk bread, overall, is an all-purpose bread. You will love it!
Ingredients
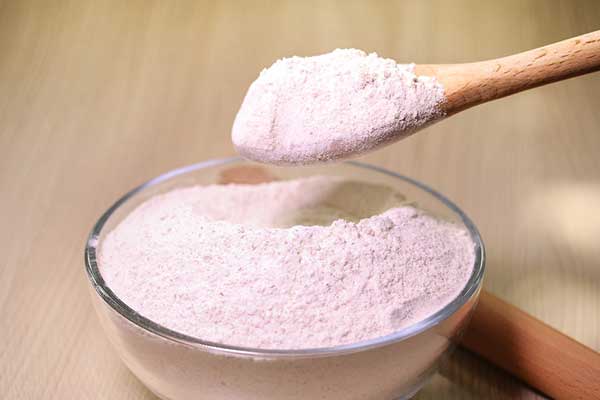
- 3 cups bread flour
- 1 TBSP sugar
- 1 ½ TSP salt
- ¼ TSP instant yeast
- 1 TBSP canola or vegetable oil
- 8 oz cultured buttermilk
- 6 oz cool, tap water
Instructions
1- Start by mixing the dry ingredients together. This recipe is forgiving so don’t be afraid if you use just a bit too much flour! You can try bread machine yeast if you don’t have instant yeast available at your store. Make sure you mix the dry ingredients first before moving to the wet ingredients.
2- Add the oil, tap water, and buttermilk. Don’t use 2% because it is the key flavor of this bread! Mix well with the dry ingredients. A wooden spoon works best here. It does get thick! Remember to scrape the sides of the bowl, so you don’t miss the lingering flour.
3- The dough will start to pull away from the sides of the bowl. It is ready.
4- Cover the dough and let it proof for 8 to 24 hours. You can make it in the morning for dinner, or make it at night for breakfast!
5- After proofing, it should be double. Spray a skillet with no-stick spray. You will use the skillet to shape the dough. Sprinkle some flour on your working surface, and dump out the dough. Flatten the dough out onto the work surface a bit with your hands. Then, use a dough scraper to scrape up the dough and pat it into a round shape. That’s it!
6- Put the dough in the skillet and cover. The dough needs to proof for an hour and a half. Put an oven safe dish inside of the oven that you want to use for the dough, so that you won’t forget later.
Preheat your oven to 450 degrees, and set your timer for 30 more minutes.
7- Take out the oven-safe dish that you picked. Transfer the dough from the greased skillet into the dish. It is easy! The dough slides right out of the skillet into the dish. Shake it a bit to help it get into the center, and put into the oven covered.
8- Set your oven timer for 30 minutes with the lid on the oven-safe dish. It will look great so far!
9- Take off the lid and let it cook just for a few minutes longer to get a brown color on top.
10- That is all you have to do! The crust is perfect, along with the flavor. Most people don’t eat buttermilk bread, but you and your family can enjoy it on a regular basis without too much effort from you. Give it a try and see what you think!