 Home and Gardening Ideas At home and Gardening ideas we believe inspiring readers about homesteading, self sufficiency
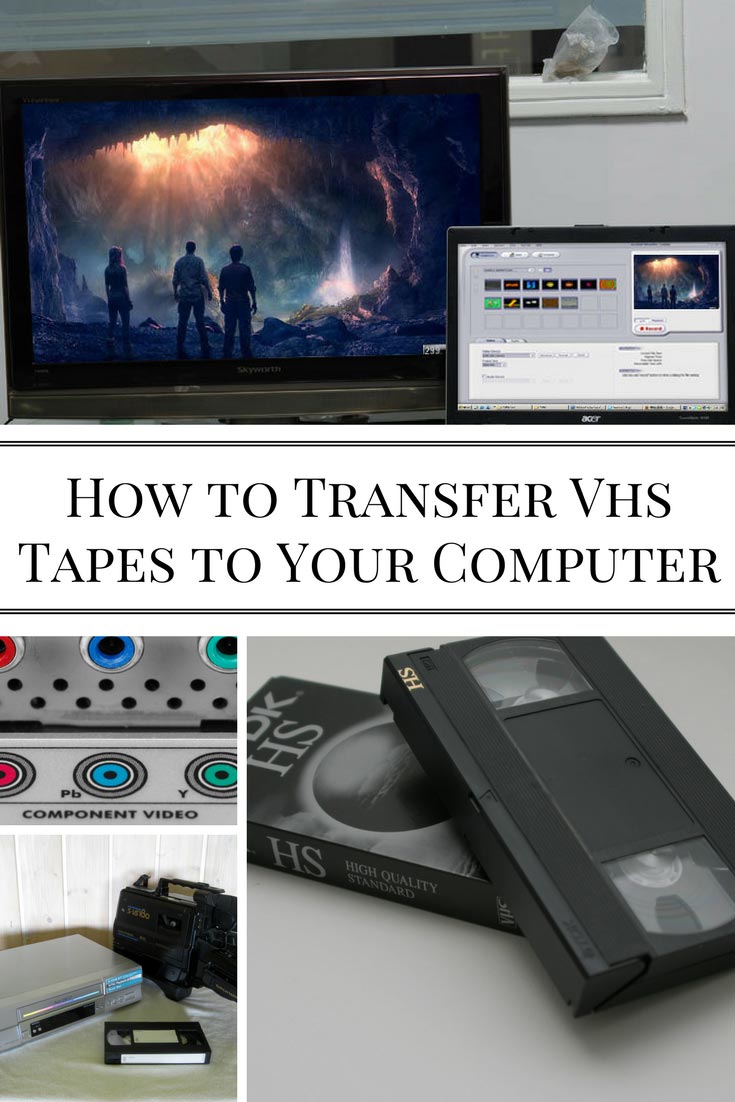
How to Transfer Vhs Tapes to Your Computer
🎞️ How to Transfer VHS Tapes to Your Computer (Before They’re Lost Forever!) 💾
Remember those fuzzy home videos from birthday parties, Christmas mornings, and family road trips? If they’re still sitting in a dusty box of old VHS tapes, time is running out. Magnetic tape degrades, and VCRs are becoming relics of the past. But here’s the good news — you can preserve those memories forever by digitizing them at home! 🛠️
In this guide, we’ll show you how to transfer your VHS tapes to your computer step-by-step — using budget-friendly tools, a sprinkle of patience, and a dash of nostalgia. 🕰️
📺 Why Transfer VHS to Digital?
VHS was king in the ’80s and ’90s, but now… not so much. Here’s why you need to act fast:
- 🎬 VHS tapes degrade over time — colors fade, and playback becomes glitchy.
- 🧨 VCRs are obsolete — repairs and replacements are rare and expensive.
- 🛡️ Digital backups protect precious memories from mold, heat, and age.
- 📱 Easily share digital copies with friends, family, or even on social media!
⚠️ Fact: VHS tapes start to deteriorate noticeably after 10–25 years. If your tapes are older than 1999, they’re already at risk.
🛠️ What You’ll Need
Before we dive into the steps, gather the following:
- A working VHS player (VCR) — eBay, thrift shops, or ask family!
- Video capture device — USB capture cards like Elgato, ClearClick, or Diamond VC500.
- RCA/Composite cables — the red, white, and yellow ones!
- Computer or laptop — preferably with decent storage space.
- Video capture software — OBS Studio (free), VLC, or software bundled with your capture device.
🎥 Step-by-Step: How to Transfer VHS Tapes to Your Computer
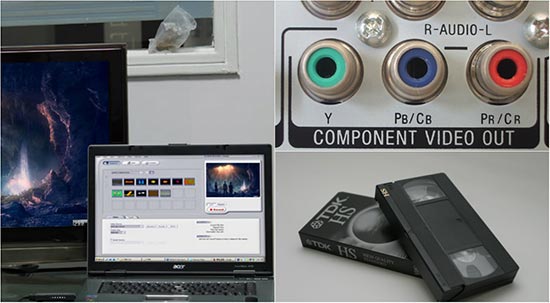
Step 1: Hook Up Your VCR 📼
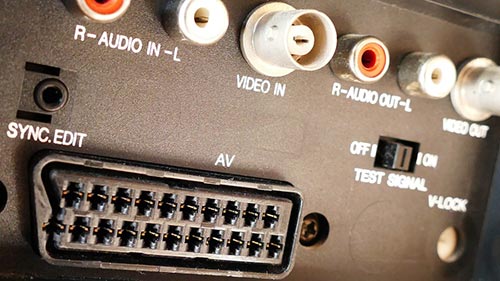
Connect the RCA cables from your VCR’s output to the input on your video capture device. The USB end plugs into your computer.
Tip: Red = right audio, white = left audio, yellow = video.
Step 2: Install Your Capture Software 💻
If your capture card comes with software, install it. Otherwise, download a free option like OBS Studio. Set up your source to detect the video input (usually labeled AV or Composite).
Step 3: Insert the Tape and Hit Play ▶️
Insert the VHS tape, rewind it to the beginning, and hit play. Make sure your software is picking up the video feed.
Step 4: Start Recording 🔴
Click record on your capture software and let the tape play through in real time. You can multitask, but keep an eye on things in case the tape stops or glitches.
Step 5: Save Your File 📁
Once done, stop the recording and save your video file — ideally in MP4 format for compatibility. Rename the file with the event name and date if you remember it!
🧠 Pro Tips for a Smooth Transfer
✅ Clean your VCR heads using a VHS head cleaner before starting.
✅ Use high-quality RCA cables for better video/audio clarity.
✅ Record in short segments if your computer is low on memory.
✅ Consider editing later with free software like DaVinci Resolve or Shotcut.
✅ Store your digitized videos on external hard drives or cloud storage for safekeeping.
💬 Common Questions (and Honest Answers)
❓ What if I don’t have a VCR?
You can buy one online (used) or borrow from a friend. Try local Facebook groups — you’d be surprised who still has one!
❓ How long does it take?
Real-time recording means a 2-hour tape will take 2 hours to digitize. Batch your tapes and let them run while you relax!
❓ Is there a way to improve the quality?
Some capture devices offer noise reduction or frame smoothing. Otherwise, consider editing the footage later to boost brightness or reduce static.
❓ Can I convert tapes without a computer?
Yes! Devices like ClearClick Video to Digital Converter 2.0 record straight to USB sticks or SD cards — no PC needed.
❓ Will this damage my tapes?
Nope — as long as your VCR is functioning properly and not chewing tapes, it’s perfectly safe.
🌟 Why This Project is Worth Doing
Here’s why you should make this a weekend project:
- 👨👩👧👦 Reconnect with your past by reliving forgotten family moments.
- 🎁 Create digital gifts for relatives — ideal for birthdays or anniversaries.
- 🔥 Rescue rare footage — weddings, school plays, silly dances — before they’re gone for good.
- 🗂️ Organize your family archive in folders by year or event.
🧰 Bonus: Organizing Tips After Digitizing
Once you’ve got those videos on your PC, don’t just leave them in your Downloads folder. Here’s what to do:
📅 Create folders by decade or year
📝 Add tags like “Christmas,” “Birthday,” or “School Play”
☁️ Upload to Google Drive, Dropbox, or iCloud
📀 Burn to DVDs as physical backups (if you’re feeling retro!)
✨ Final Thoughts
Those VHS tapes aren’t just plastic bricks — they’re time capsules. 🌌 Each one holds a piece of your family history that deserves to live on. With just a little time and the right gear, you can rescue those memories and bring them into the digital age. 💿➡️💻
Don’t wait until it’s too late. Transfer your VHS tapes to your computer today and make sure those magical moments are preserved for generations to come.
🔥 Loved this guide? Save it, share it, and pass it on to someone with a box full of tapes! 💬👇


One comment
Pingback: How To Transfer Old Vhs Tapes To Your Computer