 Home and Gardening Ideas At home and Gardening ideas we believe inspiring readers about homesteading, self sufficiency
How to Build a DIY 55 Gallon Cook Top Woodstove
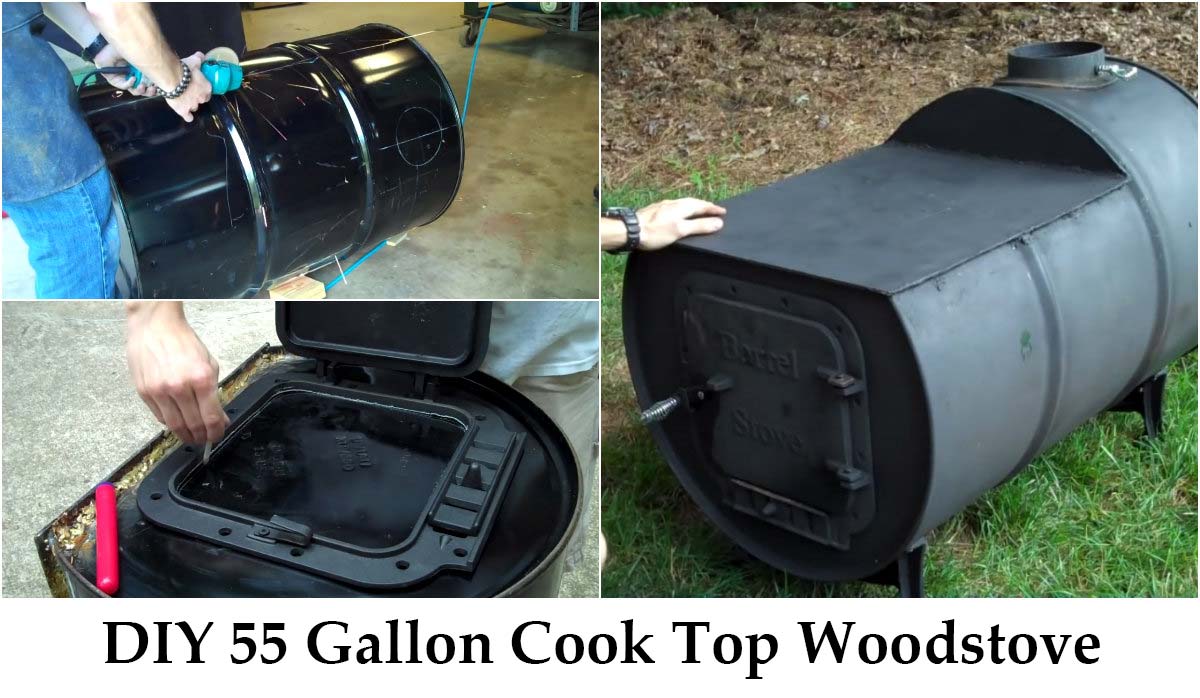
When you embark on the self-sufficient living lifestyle, you might want to consider making your cooktop woodstove. Believe it or not, they are easy to make with the right tools and time available! A 55-gallon cooktop woodstove for heating and cooking, making it a versatile item for your house.
9 Steps to Build a 55 Gallon Cook Top Woodstove
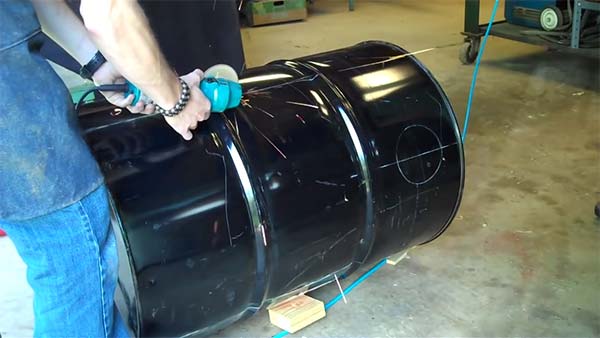
1- You will need to purchase or find a 55 metal gallon drum.
2- The first step is to use a hand saw and cut a portion one of the sides of your drum. You can use a welding process called brazen to cut the metal. Doing so creates a flat that will be your cooktop! It can be whatever measurements you want; that is up to you.
3- Then, take the measurements of the space that you cut and measure out a flat piece of metal to fit over this area. Make sure that you measure correctly and leave some area for welding!
4- The next step takes some time. You need to weld this flat piece of metal to the top of the drum. You want to make sure that you get in all of the areas. You will also need to cut a U shaped piece that will fit the part of the drum left open.
5- Next, you need a door for your woodstove! Purchase one from the store and measure it to fit over the front (or bottom) of the drum. Once you outline the space, use a saw to precisely cut out the metal for the door to fit. Drill holes into the area around the door frame, allowing you to attach the door with nuts and bolts safely.
6- Your next step is to attach feet at the bottom of the drum, allowing it to set off the ground. Make your selection at the store and drill holes in the bottom of the drum to fit the measurements of your feet. You are going to need to attach feet to the front and back of your woodstove.
7- Now, it is time to create a place for the exhaust pipe! Measure a circle on the top of the back of the drum close to your flat top that will fit the pipe you selected. Use a saw to cut out the measurements needed.
8- Drill holes into the area around the circle that allows you to attach the pipe safely with nuts and bolts. The ideal pipe will have a door that lets you open and closes it as you need, generating heat and then allowing some to escape.
9- Then, you can attach more pipe to the top, letting you draft it out of a window or through your ceiling.
For safety, make sure that you test your new woodstove outside before bringing it inside. You want to make sure everything works properly before bringing it into your home. Generate as much heat in it as possible to test out the safety. Now you have a DIY 55-gallon cooktop woodstove for a small portion of what it would cost in the stores!