 Home and Gardening Ideas At home and Gardening ideas we believe inspiring readers about homesteading, self sufficiency
Learn How You Can Have FREE Wi-Fi In Your RV
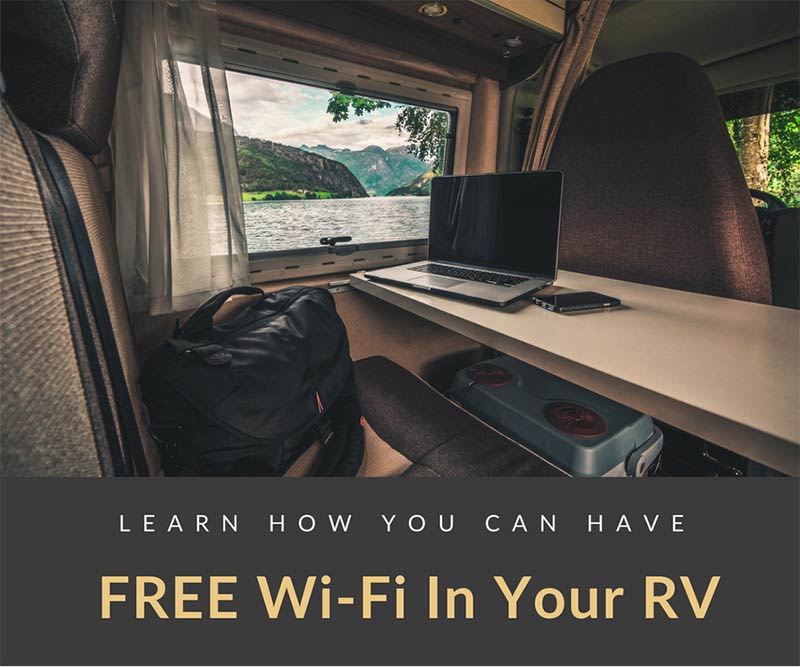
Finding a way to have a reliable internet connection when you are living the fulltime RV life is hard. You end up relying on coffee shops, lodges, and gas stations with available power outlets or free Wi-Fi, but that doesn’t feel like a truly free lifestyle. What every RVing family wants is a free, reliable internet, but is it attainable?
Yes! There are ways to ensure you have a stable Wi-Fi connection wherever you go without needing to pay a bundle of money. To make this happen, you need some hardware and to learn some software configuration, but it is worth the attempt. This solution should give you a stable internet around 90% of the time. That’s amazing!
How Is Free Stable Wi-Fi While RVing Possible?
Every RVing family knows that places like McDonald’s, Starbucks, local libraries, and local coffee shops offer free Wi-Fi. That doesn’t mean you need to stay at these locations all day. With the correct configuration, you can pick up a Wi-Fi signal from almost two miles away, depending on the terrain of your location. Flatlands may allow you to reach Wi-Fi from even further.
What You Need for Free Wi-Fi
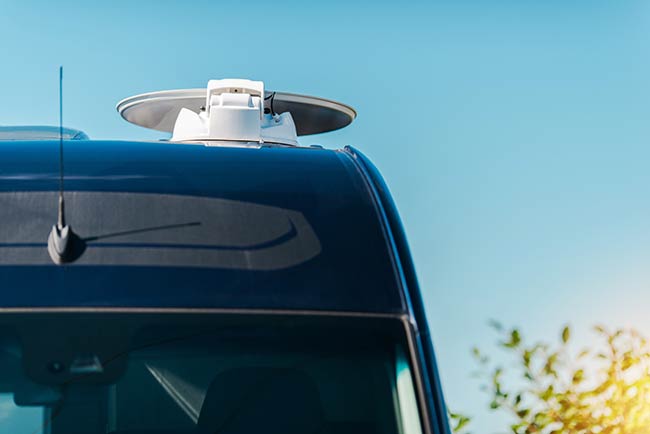
So, to make this possible for your family, you are going to need five hardware components. These won’t break the bank! I put links in the text to Amazon below where you can find all these components for about $160
- 100’ Cat6 Ethernet Cable
- Cat5e Network Ethernet Cable – 6 feet
- Outdoor Omni-Directional Antenna)
- BULLET-M2-HP Outdoor 802.11b/g M2HP
- NETGEAR Wireless Access Point
Together, everything should cost around $160. While that seems high, consider how much you have to pay for an Air Card plan or the fees you are charged at local RV camps. You’ll spend much more than $160 per year on the internet!
How to Make This Plan Work
So, let’s break it down and figure out how these five components will provide you with a stable internet connection.
- Location matters. So, your first step is to figure out where you want to place this wireless access point and how you plan to run the 100’ Cat6 cable to the Ubiquiti Bullet and wireless antenna. One smart choice is to add it to your existing TV antenna. Doing so allows you to bring it up and down with your TV antenna with the crank. You could also try a flag pole style mount, but you’ll need to remove it each time you move your RV.
- Run cables. Your next step is to run the cable from the two devices. Running cables is hard, and it can look like a mess. Take your time and hide the cord as discreetly as possible. Make sure the cords are secure as well so that they won’t fall.
- Make the connection. Now that the cable is secured and connected, you need to connect the bullet to the antenna with the N style connector. Don’t worry; this is easy! The two pieces screw together simply, and then you are ready to go.
- Plug it in. Next, plug the Cat6 cable into the Power Over Ethernet (POE) device that comes with your bullet. Find the 2nd port on the POE device and plug the 6’ Cat 6 cable in, and then run that into the wireless access point connecting it to the Port 1 of 4.
It sounds complicated, but once you have the devices in your hands, it makes a lot more sense. After everything is connected, the next step is to configure the software of the wireless access point and the Bullet. Your wireless access will come with documents that tell you how to configure it to your needs. The instructions to consider the Bullet come with it as well. That’s all you need to do!