 Home and Gardening Ideas At home and Gardening ideas we believe inspiring readers about homesteading, self sufficiency
How to Paint a Room Like a Pro in 9 Easy Steps
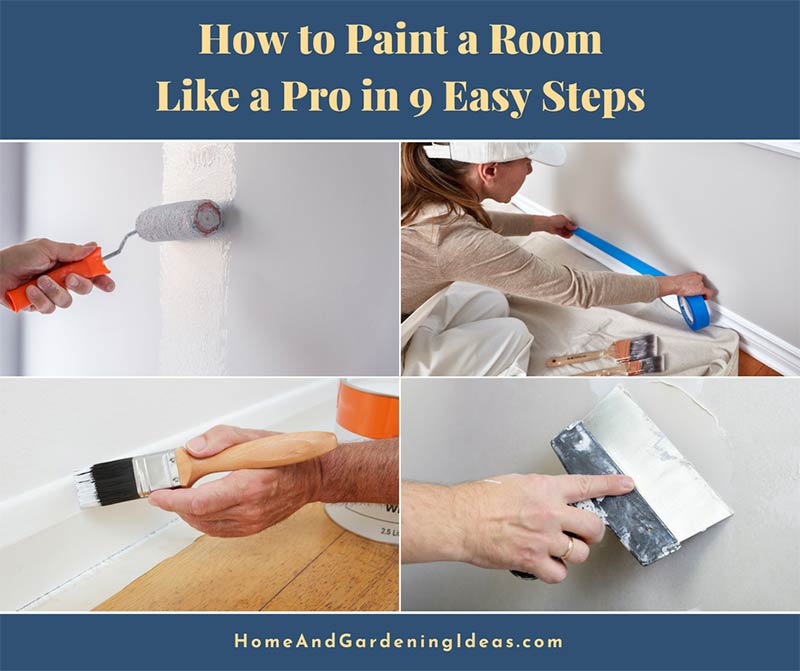
Most of us can paint a room with moderate success. We can slap some paint on the wall and, without close scrutiny, it will look okay. But we know the difference between an amateur paint job and the work of a professional. Part of the difference is a matter of experience, but most of it is know-how. Professional house painters know the tricks and techniques to get the job done beautifully without sacrificing efficiency.
With some basic know-how, you, too, can paint expertly. Here are a few tips gleaned from professional house painters to help you achieve professional looking results in your own home.
CLEAR THE ROOM
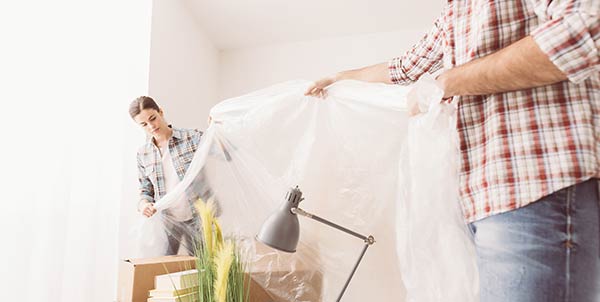
Move small pieces of furniture and knickknacks out of the room you intend to paint. Anything too cumbersome to evacuate should be pushed into the center of the room and covered completely with a plastic sheet.
LOCATE AND FIX FLAWS
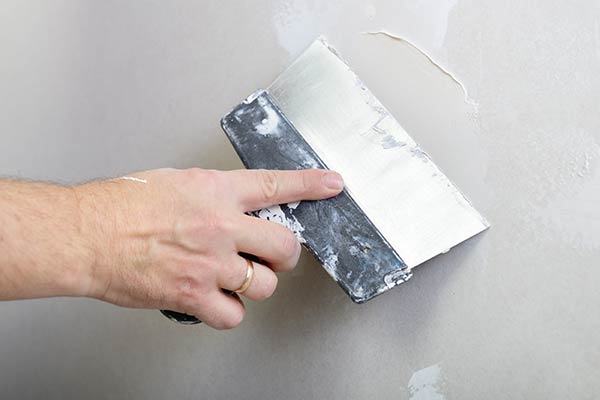
Shine a bright light across the surface you intend to paint. Look for any loose or rough places that will need to be filled or sanded. Use a pencil to lightly circle the trouble spots.
A lot of people mistakenly believe that a fresh coat of paint will hide minor flaws, but the opposite is true. The new paint will actually highlight minor irregularities. So, take the time to fill holes and sand the rough spots. For shallow depressions (less than 1/8-inch), use a spackling compound. To fill deeper indentations, use either epoxy wood filler or a 2-part filler.
SAND
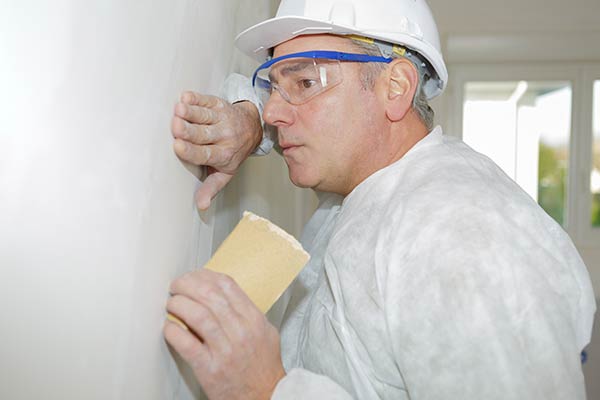
Ensure a good bond by either manually scuffing the walls one final time or using a liquid sandpaper. Try Wil-Bond or ESP. The paint ‘bites’ more readily if the walls are lightly sanded just before painting.
CLEAN THE ROOM
Work from the top down using a broom or hand-held damp towel to remove dust, cobwebs, and pet hair from the walls. Finish by sliding a damp rag along the baseboard where grime typically collects. Then vacuum thoroughly. The last thing you want is an errant hairball sticking to your freshly painted wall.
CAULK ALONG THE BASEBOARD
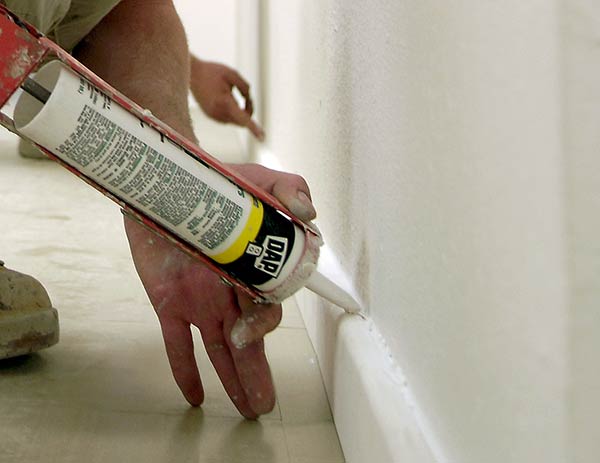
Use a dripless caulk gun to run a thin bead of caulk inside the crack where the walls meet the baseboard. Snip the tip of the caulk canister smaller than you think it should be. You don’t want caulk gushing out. Wrap a thin, damp rag around your index finger and follow the caulk line to smooth it. This simple touch will elevate your work and give it a more professional appearance.
TAPE THE TRIM
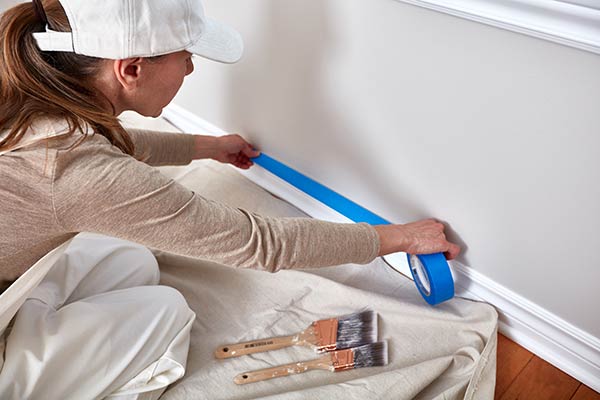
Use painters tape to carefully tape the trim. Make sure the tape is wide enough and flares out along the baseboard to protect the face of the trim from drips. After painting, remove the tape immediately, while the paint is still wet, or wait until the paint is completely dry. If you pull off the tape when the walls are partially dry, you risk pulling off paint as well.
Alternatively, skip the tape and carry a damp rag to immediately wipe up drips and spills as they occur. Some professional painters avoid taping because drips can pool underneath the tape where you won’t see them until they’ve already partially dried. Paint drips are very easy to clean when still wet and quite tricky once dry.
WHEN ROLLING…
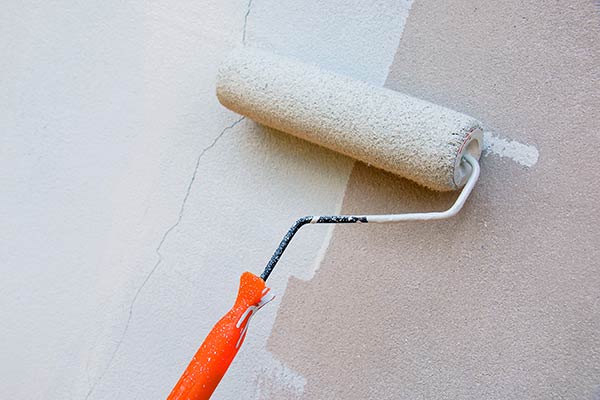
Once you begin rolling, be sure to keep a wet edge. This will help you avoid lap marks. The vertical stripes of lap marks are the hallmark of an amateur paint job, caused by uneven layers of paint or the buildup of wet paint over a partially dry layer. Make sure that you keep enough paint on your roller; now is not the type to be frugal. Each stroke of your roller should overlap the previous stroke, thus maintaining a wet edge. Work quickly! In warm, dry climates, latex paint begins to dry in under a minute.
Once you start rolling out a wall, be prepared to finish it in one go. Roll vertically, moving over slightly with each stroke. Correct mistakes, such as thick spots or runs, immediately before moving on to the next section. Keep the roller nice and wet, at least half loaded with paint, and hold it so that the open side of the roller frame faces the area you have already painted. This will help you avoid paint ridges.
Let the paint and roller combo do the work. You shouldn’t be pressing hard on the roller or trying to squeeze out the last drop of paint. It should glide evenly along the surface without applying pressure.
LIGHTLY SAND
Even pros find small imperfections in their work. After applying the first coat of paint, wait for it to dry completely, then give it a light sanding to remove any bubbles, ridges, or dirt that may have found their way into the paint. Use a fine grit sandpaper. 120 or 220 grit should be sufficient. Sand between each coat. It might seem tedious or unnecessary, but achieving a perfectly smooth finished product makes this step worth the effort and it shouldn’t take long. After sanding, wipe down the walls and vacuum again.
INVEST IN A QUALITY ROLLER COVER
You might be tempted to buy a cheap roller cover, or sleeve, but you will do a better job with a quality roller cover. If you take a few minutes to wash it afterwards, rather than tossing it in the trash, the extra cost will be more than worth it. A decent roller cover holds more paint, which expedites the rolling process, removes frustration, and gives it a more polished look. With a cheap roller cover, you’re much more likely to end up with lap marks, ridges, and inconsistent paint layers. When you go to the paint store for supplies, take a moment to find a wool blend roller cover with a ½ inch nap. You won’t regret it.
Before you use your new wool blend roller cover, remove any loose fibers by wrapping it in masking tape. Repeat as needed, each time peeling off the tape. Once no fibers come off, you’re ready to go.


One comment
Pingback: Best-Kept Secrets of Professional Painters