 Home and Gardening Ideas At home and Gardening ideas we believe inspiring readers about homesteading, self sufficiency
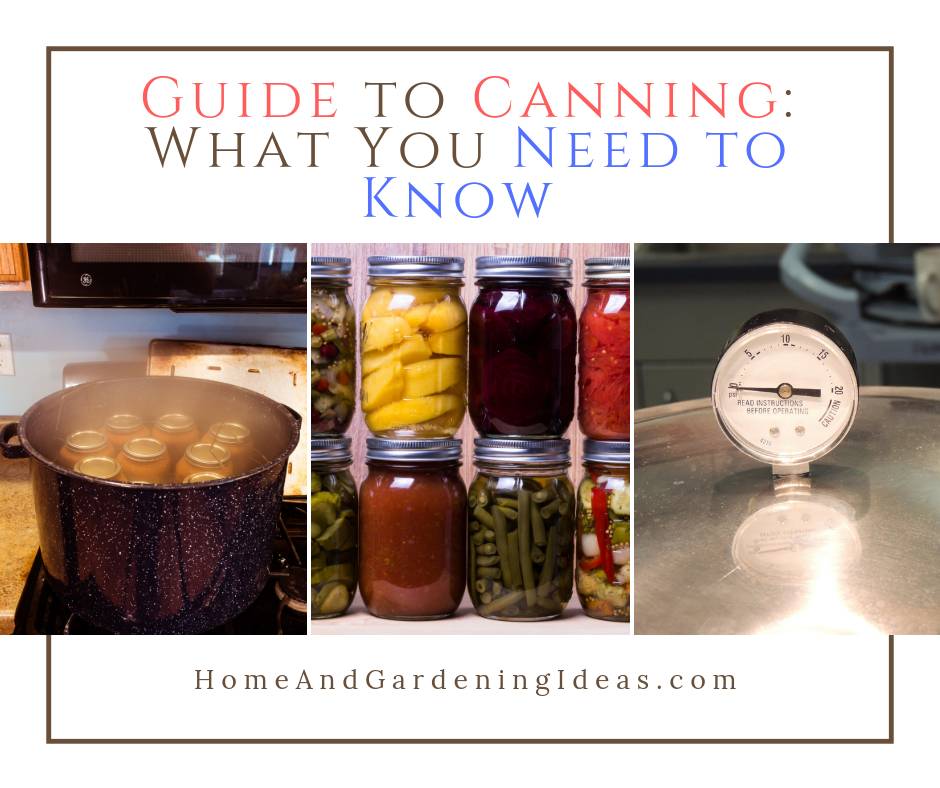
Guide to Canning: What You Need to Know
Are you interested in learning how to can? Canning is one of the top ways to preserve your garden harvest each year, turning it into delicious recipes. Homesteaders and gardeners alike started canning decades along. So, let’s jump right in with our guide to canning 101.
The Two Canning Methods
Before we jump in too far, we have to talk about the two canning methods – pressure canning and water bath canning. You have to know the difference to can food safely.
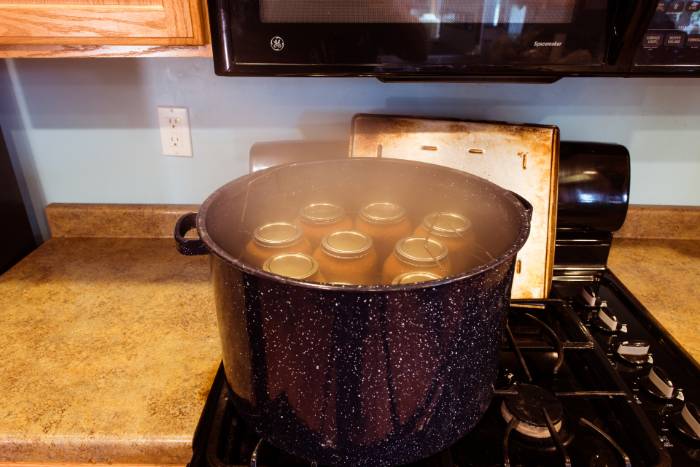
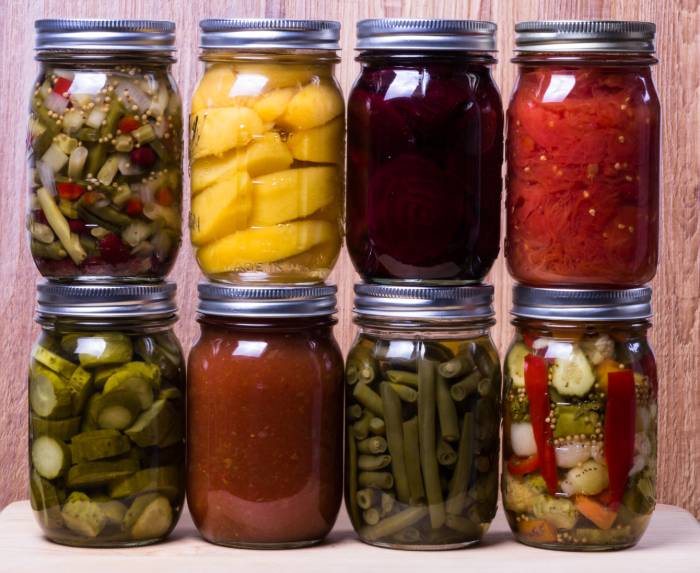
Water bath canning is the cheaper method. Sets run around $40, and it’s usually the method that beginners use. You can use a water bath canner to preserve jams, jellies, pickles, and sauces. If it’s acidic, you can use a water bath canner. It’s a large pot that you fill with water and set jars into a metal wire rack. Then, you submerge the jars in boiling water for a period determined by the recipe that you’re using.
Not too complicated!
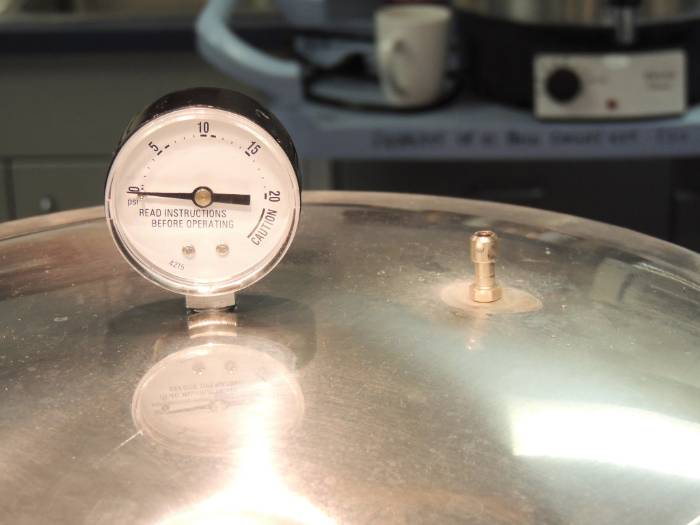
Pressure canning is the method that seems scary to so many. You might have heard of old pressure canners exploding. That doesn’t happen too often anymore.
Pressure canning is the method that you need to use to can meat, low-acid veggies, and soups. You need to use a pressure canner because it can reach temperatures much higher than a water bath canner, and those temperatures are required in order to kill off botulism spores that might live on the food.
What You Can in a Water Bath Canner
For most beginners, a water bath canner is sufficient, and it helps your feet wet. It feels a lot less intimidating. This method is sometimes called the boiling water canning method.
The combination of time and temperature in the boiling water will destroy the enzymes, mold, and yeast by creating a vacuum seal.
It’s suitable for acidic foods, such as:
- Fruits Jams
- Fruit Jellies
- Preserves and Marmalades
- Pickles
- Relishes
- Salsa
- Tomato Sauce (without diced vegetables)
- Condiments
What You Can in a Pressure Canner
As mentioned before, you need a pressure canner for anything that isn’t for a water bath canner. It’s for low-acid foods that have a more significant risk of bacteria living inside, which could make you sick later when you eat the food.
Pressure canning reaches temperatures around 240℉, and that’s what is needed to preserve low-acid food safely. The time in canner plus the heat creates a vacuum seal that prevents spoilage.
Examples of what you can safely put in a pressure canner include:
- Potatoes
- Any Meats – Ground Beef, Venison, Shredded Chicken, Salmon
- Vegetables – Carrots, Green Beans, Corn, Peas
- Soups
What is Not Safe to Can?
For the most part, you can safely can most food items. While home canners can safely can a lot of vegetables and fruit, we can’t reach the temperatures required to can foods that are too oily, have high-fat content, or are too viscous. Commercial canners also use preservatives that we can’t replicate at home.
Here are a few foods that aren’t safe to can at home.
- Milk or any items that contain dairy, such as cheese, yogurt, or butter
- Lard
- Refried Beans
- Pickled Eggs
- Cornstarch
- Flour
- Nuts & Cashews
- Purees, such as pumpkin puree
- Zucchini, unless it’s pickled
- Bacon
Canning Supplies That You Need
You can purchase sets that are put together already with all of the items you need to can besides the pressure canner and water bath canner. You don’t need too many items, but some of the things you’ll want to get your hands are as follows.
- Canning jars with two-part lids. They need a flat lid with a rubberized gasket and a ring to hold it in place. The flat lids can only be used once – never reuse lids!
- A stockpot that you will cook whatever you’re canning
- Cookware, such as spoons and spatulas
- Canning tongs for lifting jars out of the canner. Don’t use regular kitchen tongs because the jars will slip right out and break! You need canning tongs.
- A canning rack to lift the jars off the bottom of the pot. If you purchase a water bath canner from the store, the rack will be included, and a pressure canner should have a rack as well.
- A funnel to make filling jars easier and less messy
- Bubble tool that releases trapped air in the jars, but you can use a plastic knife if you want.
- Magnetic lid lifter that grabs the lids out of hot water.
5 Things That You Need to Know About Canning
Listen for the Ping
When you can, you need to listen for the pings that come from the jar lids. This means the vacuum seal was created in the jar, and your jars are secured until you’re ready to eat.
Don’t Store with Rings
After your jars have sat for 24-48 hours, it’s time for them to go into their final storage home. Don’t store with the rings on. If you do, you won’t know if the lids unseal themselves, letting bacteria in, until you go to eat the food. That means you might be exposed to unsafe food.
Follow a Trusted Recipe
Not all canning recipes are safe. If you’re new, it’s best to start with trusted recipes, such as those written in the Ball canning books. You need to be sure that the canning times are appropriate and accurate.
Always Inspect Your Jars First
You must wash and inspect your jars before using it. Canning jars can be reused for years, so long as they stay good. Look for chips or cracks. Those can compromise the safety of the jar. You don’t have to toss them out! You can use them for refrigerator storage or even a cup, but you can’t use them to safely can if they have anything wrong.
Boil the Lids First
Before you use them, boil the lids with the rubberized gaskets first. It helps them secure to the rim of the jar easier and more securely. You don’t have to boil the rings, but give them a good wash before use as well.
Remember To share on pinterest