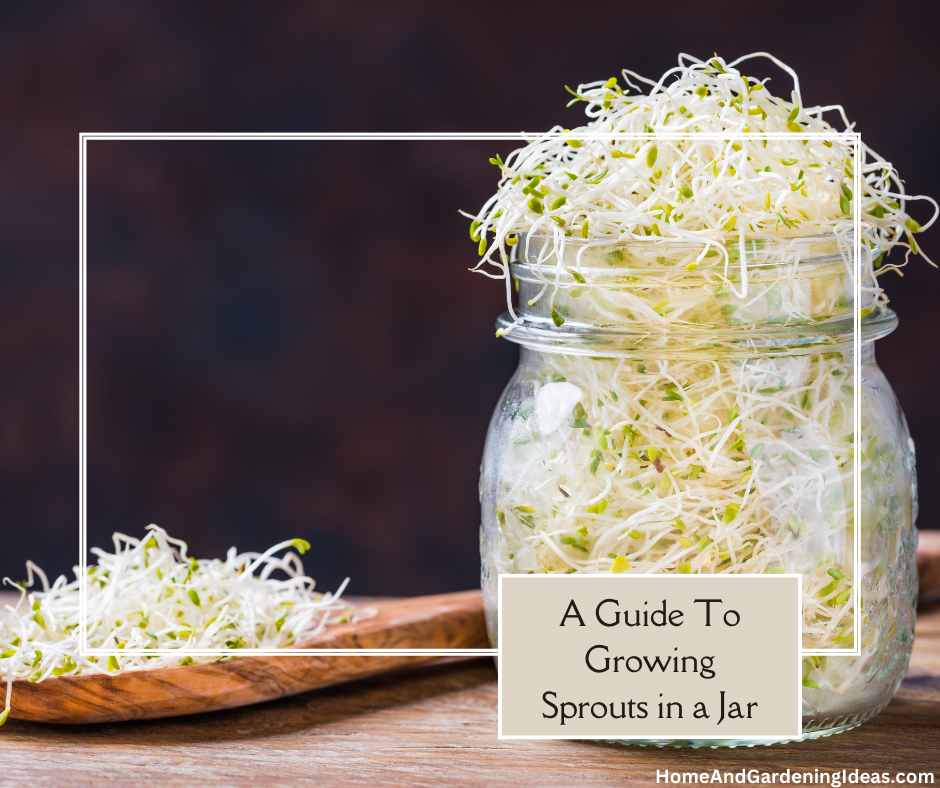
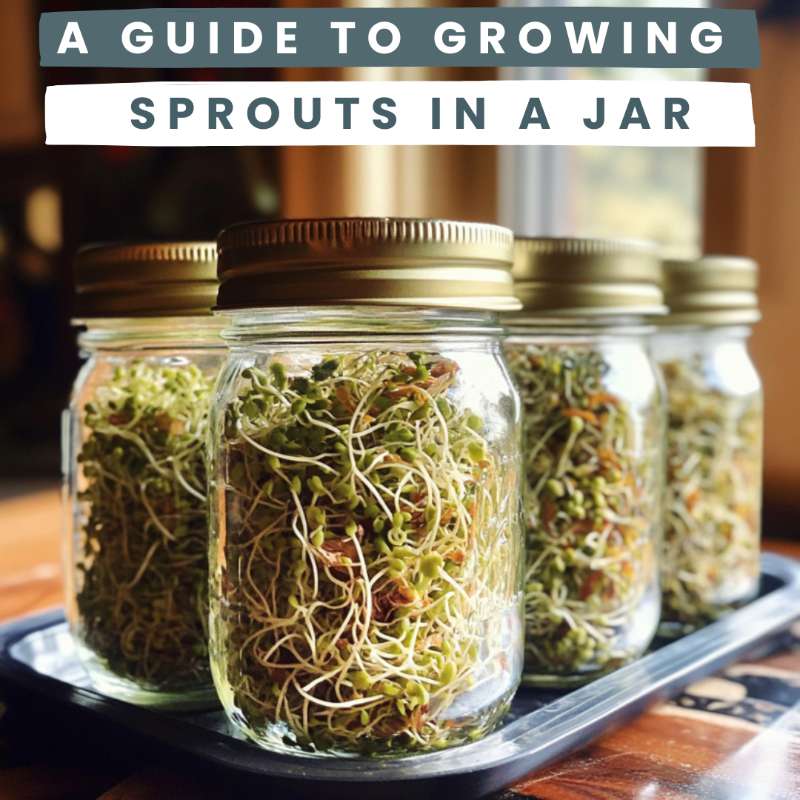
A Guide to Growing Sprouts in a Jar

Growing sprouts in a jar is an easy and inexpensive way to add fresh and healthy ingredients to your meals. Sprouts are packed with nutrients and are easy to digest, making them a great addition to salads, sandwiches, and other dishes. In this article, we will discuss how to grow sprouts in a jar, including what you’ll need, selecting the seeds, and some helpful tips to ensure success.
What You’ll Need To grow sprouts in a jar, you will need a few basic supplies, including:
- A clean glass jar with a wide mouth (mason jars work well)
- A mesh lid or cheesecloth
- Sprouting seeds
- Water
- A sunny spot
- Selecting the Seeds When selecting seeds for sprouting, it’s important to choose high-quality seeds that are intended for sprouting. Avoid using seeds that are treated with chemicals or have been intended for planting in soil, as they may not sprout properly or could be contaminated.
- There are many types of seeds that can be sprouted, including alfalfa, broccoli, clover, radish, and mung beans. Some people also sprout grains such as wheat and barley. Each type of seed has its unique flavor and nutritional profile, so feel free to experiment with different varieties to find your favorites.
- Preparing the Jar and Seeds To begin, thoroughly clean your glass jar and lid with hot soapy water and rinse well. You don’t want any bacteria or residue left behind, as this can cause your sprouts to spoil.
- Next, add about 1-2 tablespoons of sprouting seeds to your jar. The amount will depend on the size of your jar, but you want to add enough seeds to cover the bottom of the jar in a single layer.
- Fill the jar with water, covering the seeds by about an inch. Place the mesh lid or cheesecloth over the mouth of the jar and secure it with a rubber band. This will allow air to circulate and keep insects out.
- Soaking and Sprouting After securing the lid, let the seeds soak for 8-12 hours. This will activate the sprouting process and remove any natural inhibitors that may prevent the seeds from sprouting.
- Once the seeds have soaked, drain the water through the mesh lid and rinse the seeds with fresh water. Tilt the jar to drain off as much water as possible, leaving the seeds damp but not soaking wet.
- Now it’s time to start the sprouting process. Place the jar in a sunny spot, preferably near a window, and let the seeds sprout for 2-5 days. During this time, rinse the seeds with fresh water twice a day, making sure to tilt the jar to drain off excess water.
- Harvesting and Storing Once the sprouts have reached the desired length, usually 1-3 inches, it’s time to harvest them. To do this, remove the mesh lid or cheesecloth and pour the sprouts into a bowl. Rinse the sprouts thoroughly with fresh water and drain well.
You can eat your sprouts immediately or store them in an airtight container in the refrigerator for up to a week. Before eating or cooking with sprouts, always rinse them thoroughly to remove any debris or bacteria.

Helpful Tips for Success
- Use high-quality seeds that are intended for sprouting.
- Keep the jar in a warm and sunny spot, preferably near a window.
- Rinse the seeds twice a day, making sure to tilt the jar to drain off excess water.
- Avoid over-watering your sprouts, as this can cause them to spoil.
- If you notice any mold or off-odors, discard the sprouts and start over with a clean jar and fresh seeds.
In conclusion, growing sprouts in a jar is a simple and rewarding process that can add a healthy and delicious ingredient to your meals. By following these simple steps and tips, you can enjoy fresh sprouts in just a few days. Plus, sprouting your seeds at home is much cheaper than buying pre-packaged sprouts from the grocery store, and it allows you to experiment with different types of seeds to find your favorites.
One of the great things about growing sprouts in a jar is that it’s a fun activity to do with kids or as a family. Children can learn about the process of germination and how plants grow while also enjoying the delicious and healthy results.
So why not give sprouting a try? With just a few basic supplies and some high-quality seeds, you can start growing your own fresh and nutritious sprouts today.
Pin for Later

 Home and Gardening Ideas At home and Gardening ideas we believe inspiring readers about homesteading, self sufficiency


