 Home and Gardening Ideas At home and Gardening ideas we believe inspiring readers about homesteading, self sufficiency
How to Make Loofah Soap: A Guide to Crafting Natural Exfoliation
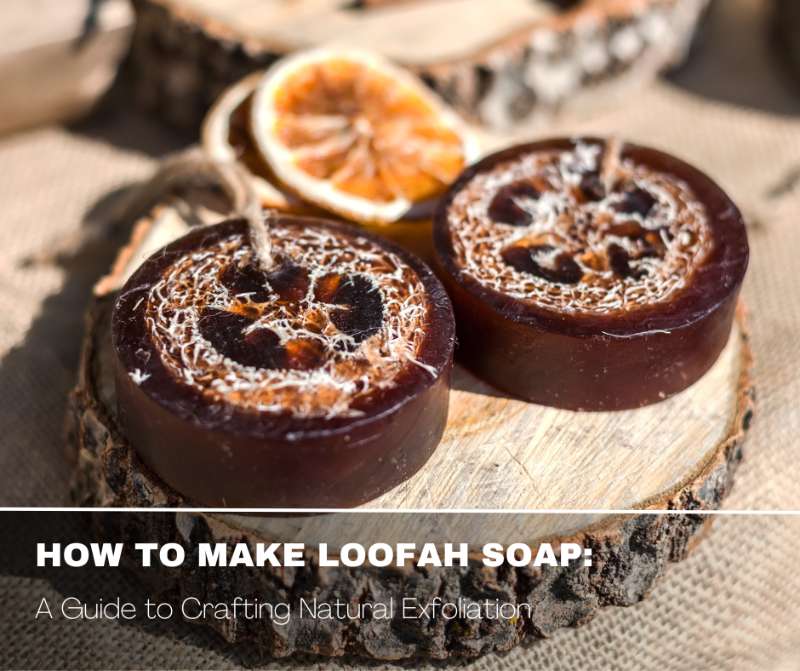
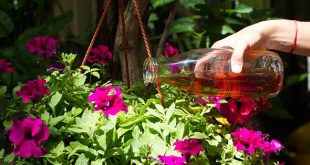
Loofah soap, a fusion of natural loofah fibers and soothing soap, offers a delightful and invigorating experience for your skin. With its exfoliating properties and nourishing ingredients, loofah soap has become a popular choice for skincare enthusiasts looking to achieve smoother, healthier skin. In this article, we’ll delve into what loofah soap is, its benefits, and provide a step-by-step guide on how to make your own.
Understanding Loofah Soap
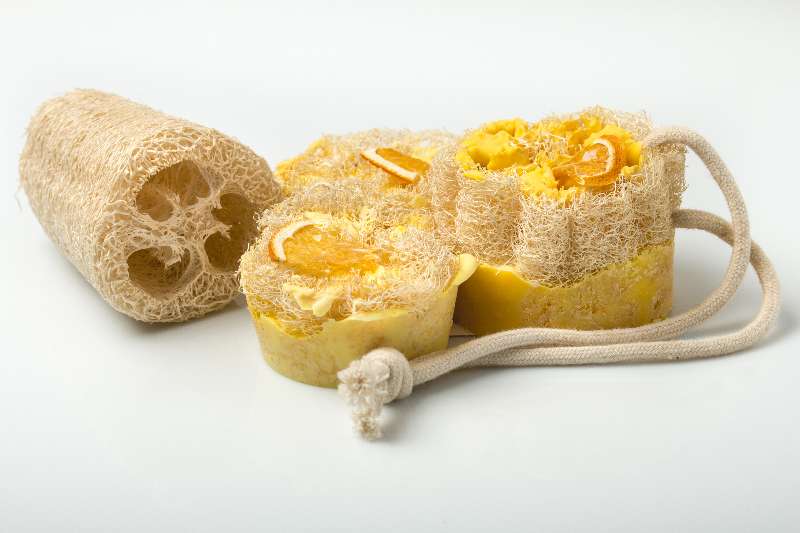
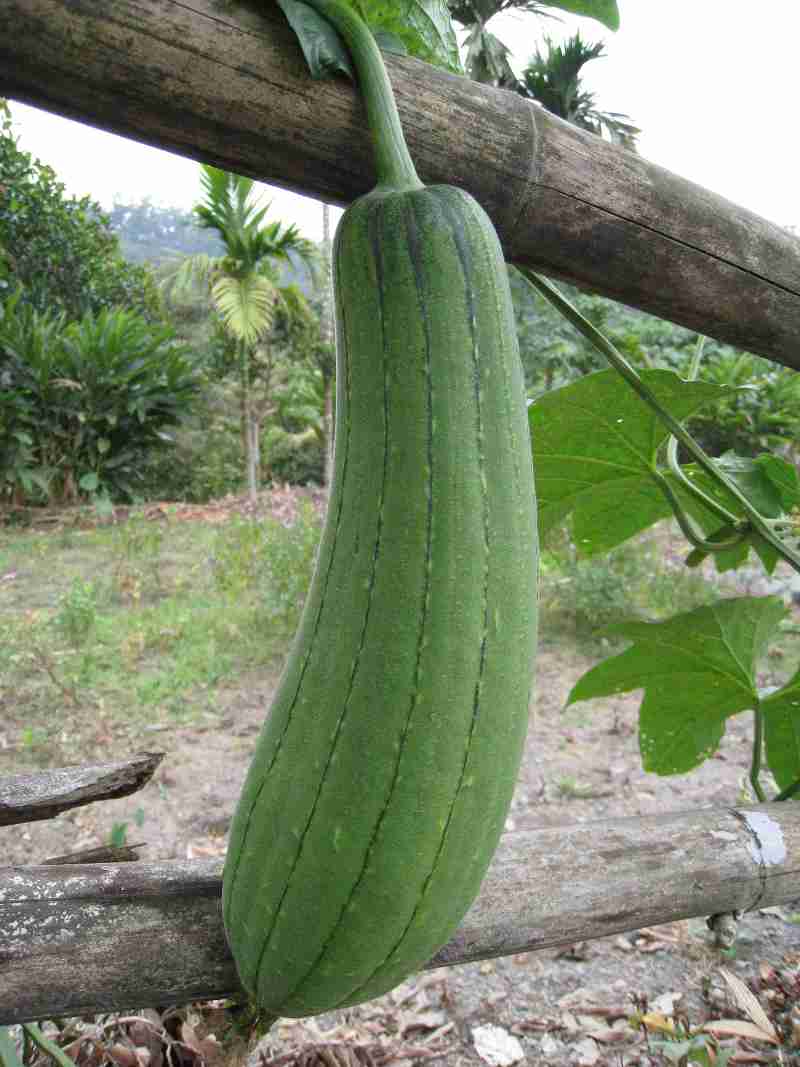
Loofah soap is a creative combination of two elements: the natural loofah sponge and soap. The loofah, also known as a luffa or sponge gourd, is a fibrous plant that, when dried, forms a sponge-like texture. It has been used for centuries as a natural exfoliant, helping to remove dead skin cells and promote circulation. When embedded within a soap bar, loofah fibers create a dual-action product that cleanses and exfoliates simultaneously.
Benefits of Using Loofah Soap
1. Exfoliation
The primary benefit of loofah soap lies in its exfoliating properties. The texture of the loofah fibers gently sloughs away dead skin cells, unclogging pores and promoting skin renewal. This process not only leaves your skin looking fresh and vibrant but also enhances the effectiveness of any moisturizers or treatments applied afterward.
2. Improved Circulation
The massaging action of using a loofah soap stimulates blood circulation beneath the skin’s surface. This increased circulation can contribute to healthier, more radiant skin and can also help with reducing the appearance of cellulite and promoting an even skin tone.
3. Natural Ingredients
When crafting your own loofah soap, you have full control over the ingredients used. This allows you to create a product tailored to your skin’s needs, incorporating natural oils, moisturizers, and scents that are free from harsh chemicals or irritants.
4. Spa-like Experience
Using loofah soap can transform your daily shower routine into a spa-like experience. The combination of cleansing and gentle exfoliation offers a moment of self-care that leaves you feeling refreshed and revitalized.
Crafting Your Own Loofah Soap
Making your own loofah soap is a rewarding DIY project that lets you customize the soap’s ingredients and design. Here’s a simple step-by-step guide to get you started:
What You’ll Need:
- Glycerin soap base (available at craft stores or online)
- Loofah sponge or loofah slices
- Essential oils (for fragrance, if desired)
- Soap colorant (optional)
- Microwave-safe container
- Soap molds
- Knife
- Cutting board
- Spray bottle with rubbing alcohol
Instructions:
- Prepare the Loofah: If using a whole loofah sponge, cut it into smaller slices that fit comfortably within your chosen soap molds. Ensure the loofah slices are not too thick, as they will be embedded in the soap.
- Melt the Soap Base: Cut the glycerin soap base into small chunks and place them in a microwave-safe container. Follow the package instructions for melting the soap in the microwave. Usually, this involves heating the soap in short bursts, stirring in between, until it’s completely melted.
- Add Color and Fragrance: If desired, add soap colorant and a few drops of essential oil to the melted soap base. Mix well to distribute the color and fragrance evenly.
- Pour a Thin Layer: Pour a thin layer of the melted soap into the soap molds, just enough to cover the bottom.
- Place Loofah Slices: Quickly place the loofah slices onto the melted soap in the molds. Press them gently to ensure they adhere to the soap.
- Fill the Molds: Carefully pour the remaining melted soap over the loofah slices in the molds, ensuring they are completely covered. Leave a little space at the top to prevent overflow.
- Spritz with Alcohol: Lightly spray the surface of the soap molds with rubbing alcohol. This helps eliminate any air bubbles that may have formed during pouring.
- Allow to Cool and Set: Let the soap molds sit undisturbed until the soap solidifies and cools down completely. This can take a few hours.
- Unmold and Trim: Once the soap is fully set, gently pop the soap bars out of the molds. If needed, you can trim any excess loofah sticking out of the soap using a knife.
- Curing: Place the soap bars on a clean surface and allow them to cure for a few days. During this time, excess moisture will evaporate, resulting in a harder and longer-lasting soap.
- Enjoy Your Loofah Soap: Once cured, your loofah soap is ready to use! Enjoy the invigorating exfoliation and nourishment it provides during your daily skincare routine.
In Conclusion
Crafting your own loofah soap is a satisfying endeavor that combines the benefits of natural exfoliation with the joy of creating a personalized skincare product. By following this guide, you’ll be well on your way to enjoying the spa-like experience and radiant skin that loofah soap offers. Remember to tailor the soap’s ingredients to your skin’s unique needs and preferences, and have fun experimenting with different scents and colors to create a truly delightful bathing experience.