 Home and Gardening Ideas At home and Gardening ideas we believe inspiring readers about homesteading, self sufficiency
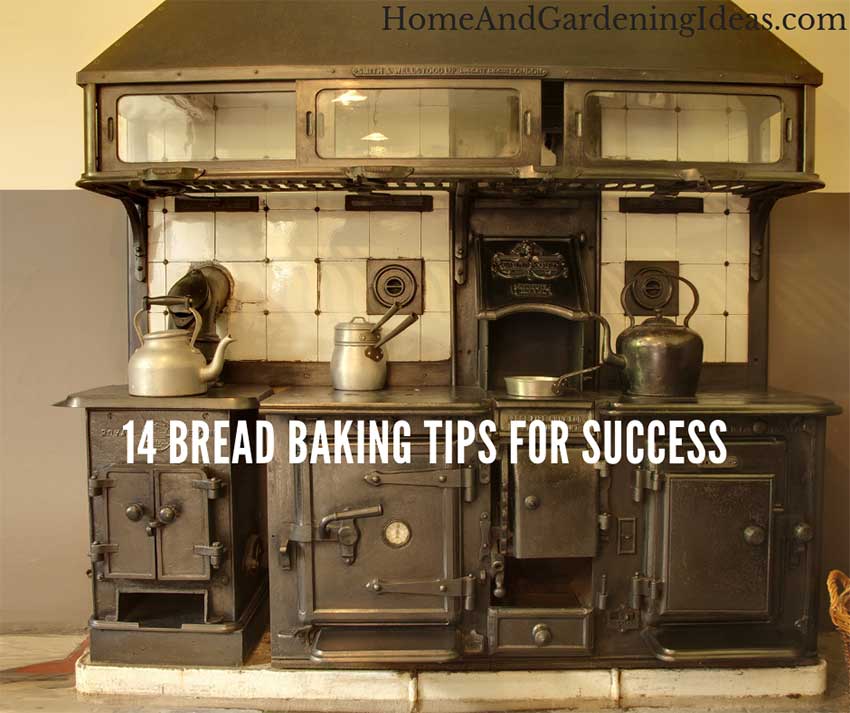
14 Bread Baking Tips for Success
The smell of freshly baked bread is intoxicating. It moves through your house, making it impossible to not take a slice as soon as it comes out of the oven. Our ancestors baked bread daily, and it was a staple part of their diet. Nowadays, the idea of baking fresh bread seems difficult and cumbersome when it is really quite easy!
If you were lucky enough to bake alongside your grandmother, you probably learned several of these tips. Grandmas are awesome like that. For the rest of us, we learn how to bake bread by trial and error and many failed loaves. Here are some tips to increase your likelihood of success.
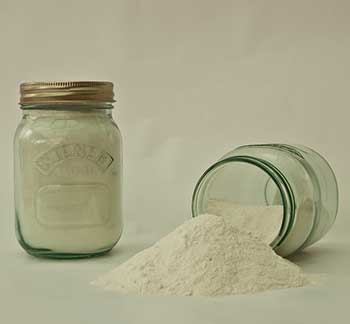
Use High Protein Wheat or Add Gluten
If you have to buy flour from the store to make your bread, you will want to add vital wheat gluten to increase the rising of the bread. Vital wheat gluten also makes the bread lighter. You could also use commercial bread machine flour because the vital wheat gluten is added already. Don’t add too much! Try ¼ cup for every 5 cups of whole wheat flour.
Fresh Ingredients Are Better
Fresh is always better in almost any recipe! If you have the ability to grind your own wheat, do so! Fresh flour includes the vital wheat gluten, the bran, and the germ. It’s the best choice, plus it has higher levels of enzymes and protein that help your loaves rise.
Understand Different Yeasts
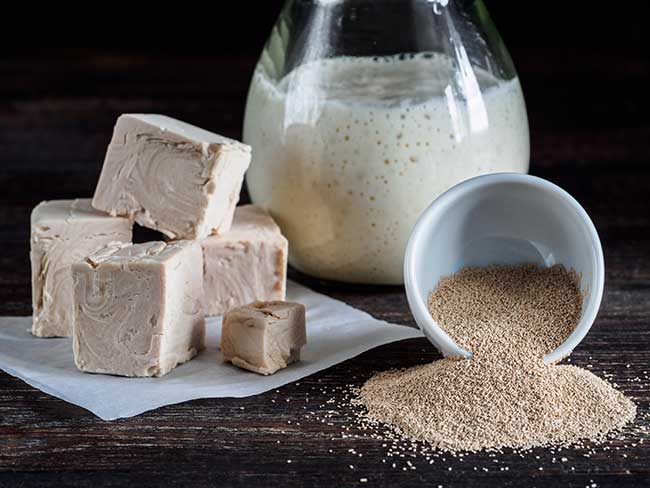
There are different types of yeasts, such as dry and wet. Many bakers prefer active dry yeast for regular bread baking. It gives you a long rising time without worry that it will collapse prematurely. Instant yeast rises fast, but the bread doesn’t have the opportunity to develop fully. It will collapse with a long rising time.
Rise at 70 F
For best results, you want to let your bread rise at cooler temperatures. That means you might want to find a cooler or warm area for your bread to rest as it rises. If your house is chilly, try turning your oven on and setting the bread on top of the oven. Likewise, if your house is really warm, try setting it in a cooler, dark area of your home.
Proof Your Yeast First
Yeast doesn’t last forever, and it does have a shelf life that you must remember. Keeping your yeast in the fridge prolongs the shelf life, but it still will eventually lose its vitality. Proofing your yearst first is an important step.
Just Knead Knead with Wet Hands
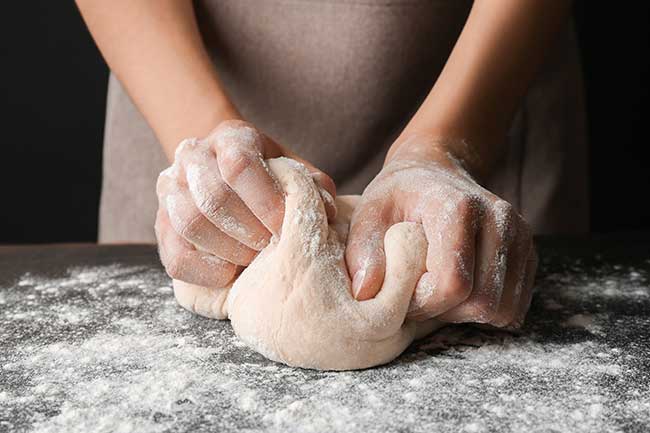
Kneading is one of the main keys to a good loaf of bread. A great trick is to knead your dough with wet hands instead of dry. Doing so prevents the dough from sticking to your hands, and it doesn’t add any heaviness to the dough. A heavy dough will become a heavy, dense loaf of bread, which no one wants.
Steam in Your Oven
If you want to bake artisan bread, steam is a key that you can’t miss. Commercial artisan bread makers have ovens that steam the bread during the baking process. Steam helps the bread spring in the oven, creating taller and lighter bread loaves. It also adds that crisp to the crust that everyone loves with a bit of chewiness.
You can still get the same effect by putting a heavy pan, like a cast iron pan, on the bottom rack of your oven. Before you put your bread loaves into the oven, add some boiling water into the pan. Put your bread on the top rack and close the door.
Try An Optional Dough Conditioner
One trick is to add 1 TBSP of apple cider vinegar or 1 TSP of diastolic malt when you are mixing to act as a dough conditioner. Doing so adds enzymes and lightens your dough.
Half the Yeast and Double the Rising Time
If you are trying a commercial recipe, it is best to decrease the yeast by ½ and double the first rise. Doing so removes any of the yeasty flavors of the bread and gives it a better crumb. It will help keep the dough light from the handling and rising time.
Don’t Use Too Much Flour
When you are kneading your dough, it might seem too sticky, but its normal for bread dough to be sticky when you put it in the pan to rise for the first time. During the first rise, the flour will start to absorb the stickiness. Don’t panic and start to add a bunch of flour to the dough. It shouldn’t be smooth and elastic-like before the first rise. Instead, save up a third of the flour to add after the first rising. Knead it in one handful at a time.
Don’t Forget the Salt
Salt gives your bread flavor, and it won’t form crumb as well. Salt also mediates the yeast and helps alter the texture of the bread. In each loaf of bread, make sure you add 1 TSP of salt.
Use a Long Preheat
Baking bread isn’t a fast process. Don’t be in a rush to get your bread in the oven and finished. Let your oven preheat for at least 20 minutes before you put your loaf in the oven. Some bakers even preheat for a full hour! You can also preheat the loaf pan and use parchment paper to transfer the loaf into the pan after its preheated.
Try a Baking Stone
Baking stones are a bread bakers best friend. Stones hold the heat from the oven and gives your bread that nice, brown crust that everyone loves. Another fun trick is to add two bricks in the bottom of your oven and preheat with your oven. That will give you a crispy brown bread.
Slash the Tops
A nice loaf of bread has a slash across the top. It looks fancy, but the slash serves a purpose. Do so about 20 minutes before baking to allow your loaf to spring in the oven without cracking your bread. ‘