 Home and Gardening Ideas At home and Gardening ideas we believe inspiring readers about homesteading, self sufficiency
How to Build A Solar Generator At Home
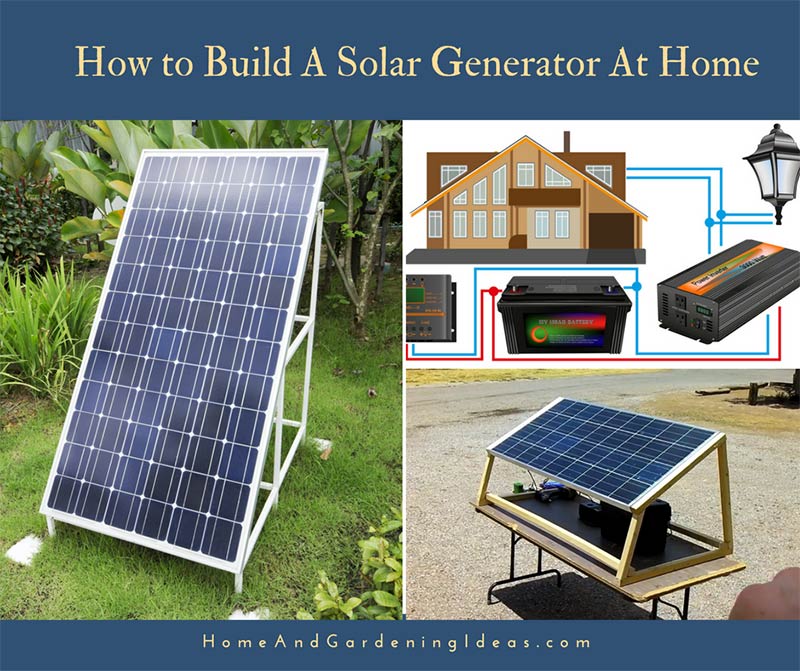
Are you ready to build a cheap and simple solar generator? The total price for this generator is less than $600, which is a fantastic price compared to what you would pay for one already made.
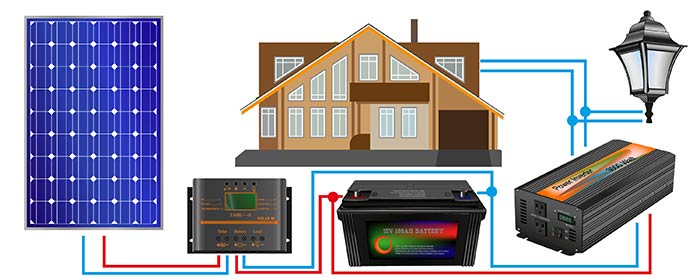
You need a solar panel, a battery pack and a solar charge controller. Then, you will build a stand to hold these items safely, allowing your panel to catch the lights and create the power for the generator. The stand will hold the panel at an angle, allowing it to catch the maximum amount of daylight each day.
10 Simple Steps to Build a Solar Generator
1- You want to make a cradle for the solar panel. On each side, you need a 32-inch piece of wood, a 25 1/8 inch piece with two 15 degree angles, a 13.5 inch with a 15 and 45-degree angle cut, and a 25 inch cut for the other piece.
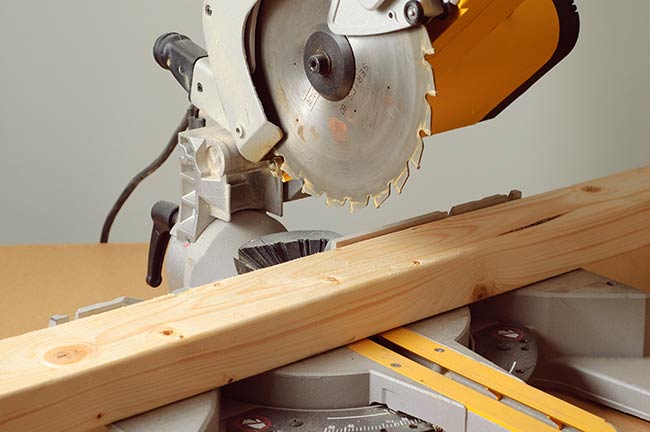
2- Make sure you cut two of each piece because the cradle needs two sides to hold up the solar panel. Assemble these pieces in an almost triangular shape, which can be held together with screws or wood glue. It might be wise to use both to ensure everything is appropriately attached.
3- Lay the solar panel on a table facing upwards towards the sky. Gently screw the 32-inch piece of wood onto the solar panel. Once you do this on one side, go to the other side and attach the next piece. To make this, pre-drill holes with a drill bit. It makes the process a lot easier and less stressful.
4- Set the solar panel with the cradle upwards, and it looks pretty good at this point. For extra stability, attach two 59 inch crossbars between the two legs. This will prevent the legs from buckling outwards.

5- Now, it is time to wire up the solar panel. On the side of the junction box, there may be a weatherproof connection or a hole you can knock out. The connector screws in and connects the wires, protecting them from the weather. Get another weatherproof connector and slide it on the cord. Then, force it through the weatherproof connector, pulling out about a foot. Slide the nut down and tighten.
6- You need spade terminals on the end of the cord now. Strip the end of your wire and attach spades at the end. Make sure you use ten gauge wire. You need to wires coming from the junction box, a positive and a negative, both with spade terminals.
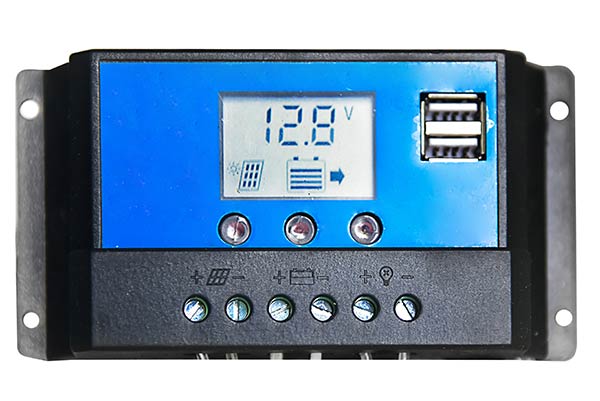
7- Now you set up the charge controller, which regulates the power from the sun to the battery. Get a good brand, such as Morning Star. You need two wires with ring terminals on end to connect to the battery. Now, it is time to hook it all together.
8- Be careful at this stage. Make sure the solar panel is covered! Attach the positive and negative to your battery pack FIRST. Then, attach these two wires to the charge controller. Lights will come on, telling you that they are hooked up.
9- Now, hook up the positive and negative wires for the junction box to the charge controller. Make sure everything is tight. Then, attach the spade terminals inside of the junction box to their appropriate slots.
10- Remove the cover off the solar panel, now you are charging!
That’s all you need to do to create a DIY solar generator at home! It isn’t that difficult at all, and you didn’t have to spend thousands on a solar generator at the store.